
#
Introduction to preset configuration
Preset configuration allows defining the structure of the palletizing cell, setting the position of the different elements and defining their operating parameters.
#
Preliminary considerations
For correct use of this module, basic knowledge of the different palletizing line typologies and the relevant configuration parameters is required.
Pay attention to details
Review all parameters carefully; an incorrect configuration may lead to improper system operation. 🔥
#
User interface
Preset configuration displays a workspace where presets representing the different elements of the cell you want to program can be added or modified.
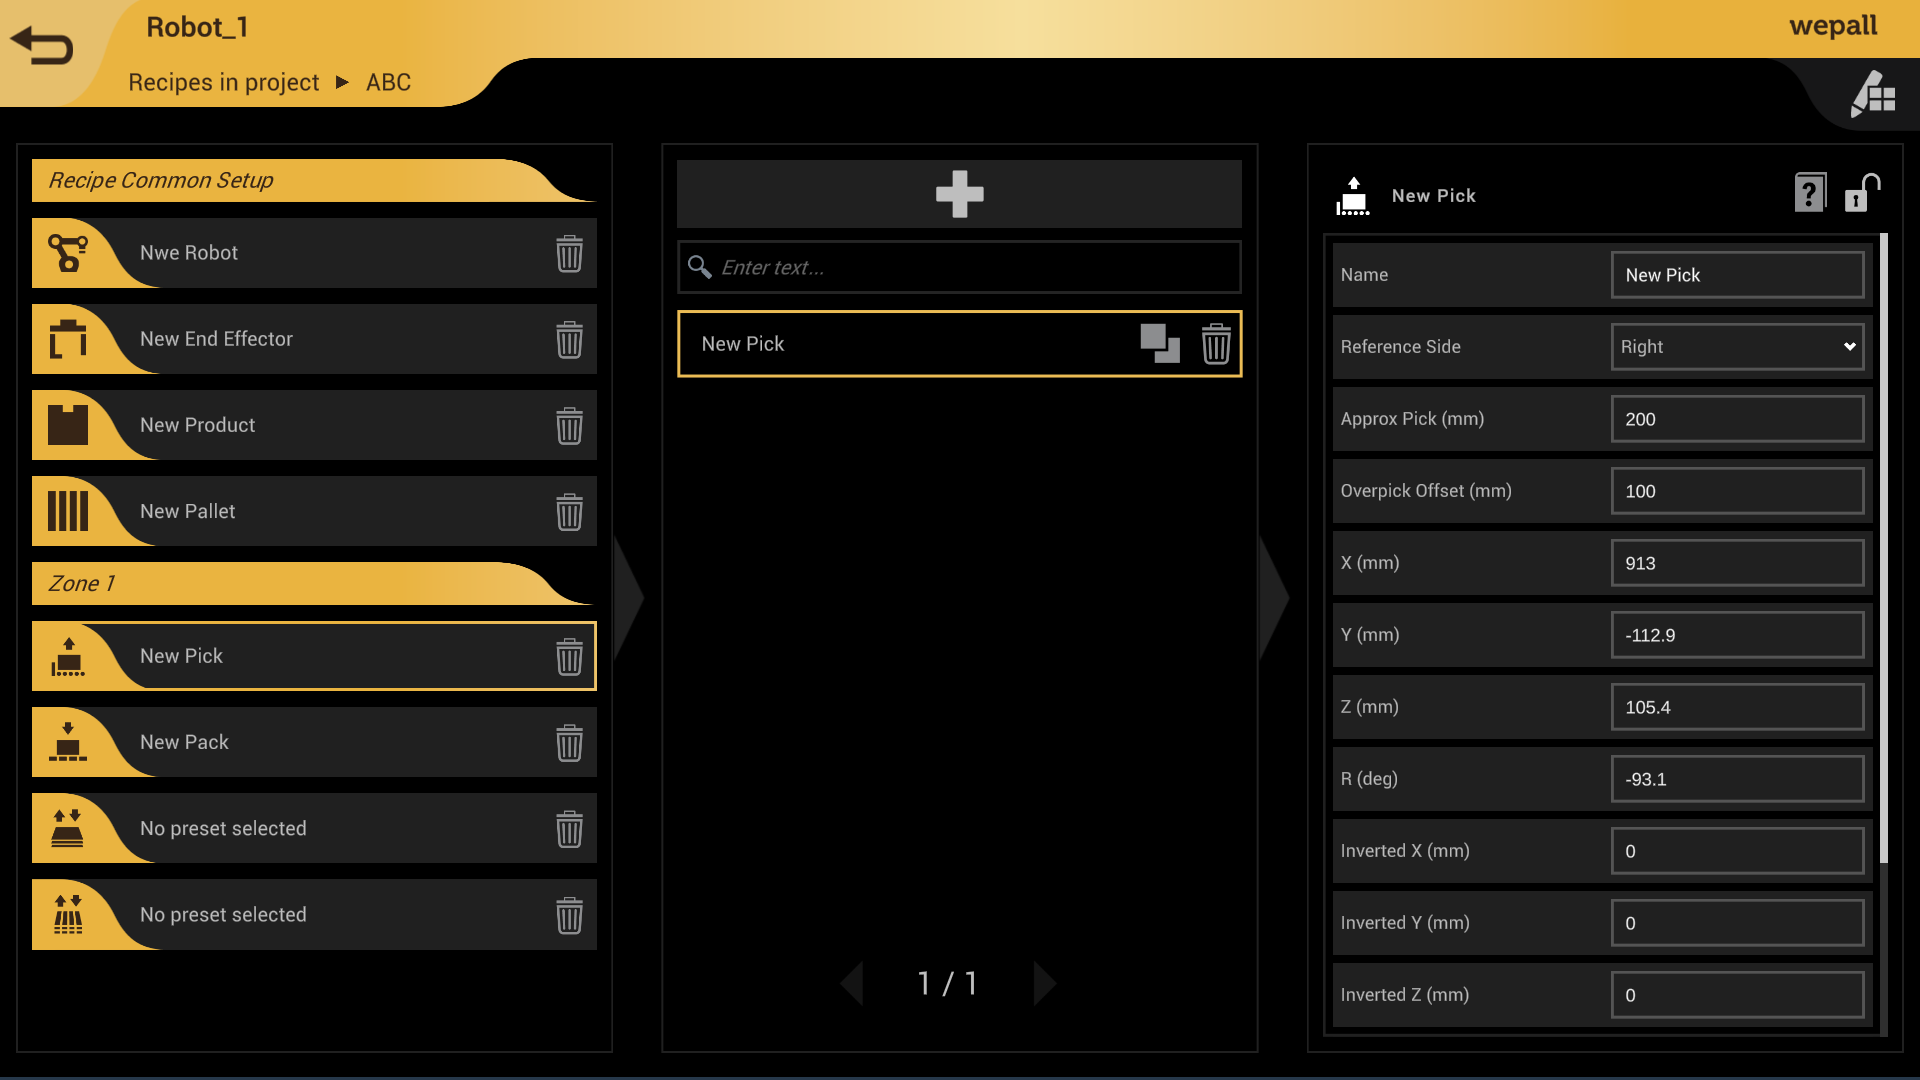
In each preset configuration, the following elements can be found:
| Access to preset-related web documentation |  |
| Protection against preset modification |  |
#
Preset
Think of a preset as a definition of a cell element, and at the same time as a reusable template.
Typical examples are robot, gripper, product, or pallet presets, as their data may be identical across multiple recipes. In fact, you can reuse all presets whenever your recipe requires identical values to another one. However, it is not advisable to reuse presets that involve positions and rotations specific to a particular pattern.
First add, then configure
Create → Configure → Design pattern
- Before configuring any element, it is recommended to configure the robot and gripper type first.
- Some presets have parameters that depend on the configuration of other presets used in the recipe.
Combine your presets
This preset system allows you to reuse them as "templates" for different recipes (i.e., programs), but do so carefully:
- Each preset represents a specific set of data for a line and/or pattern, so values taken from one preset may not be valid for other recipes.
- You may be tempted to modify preset values for your current recipe, but that could affect other recipes that also use it.
- Lock important presets using the padlock to prevent accidental modification.
- You can create as many presets as needed, so when in doubt, clone one and save editing time.
#
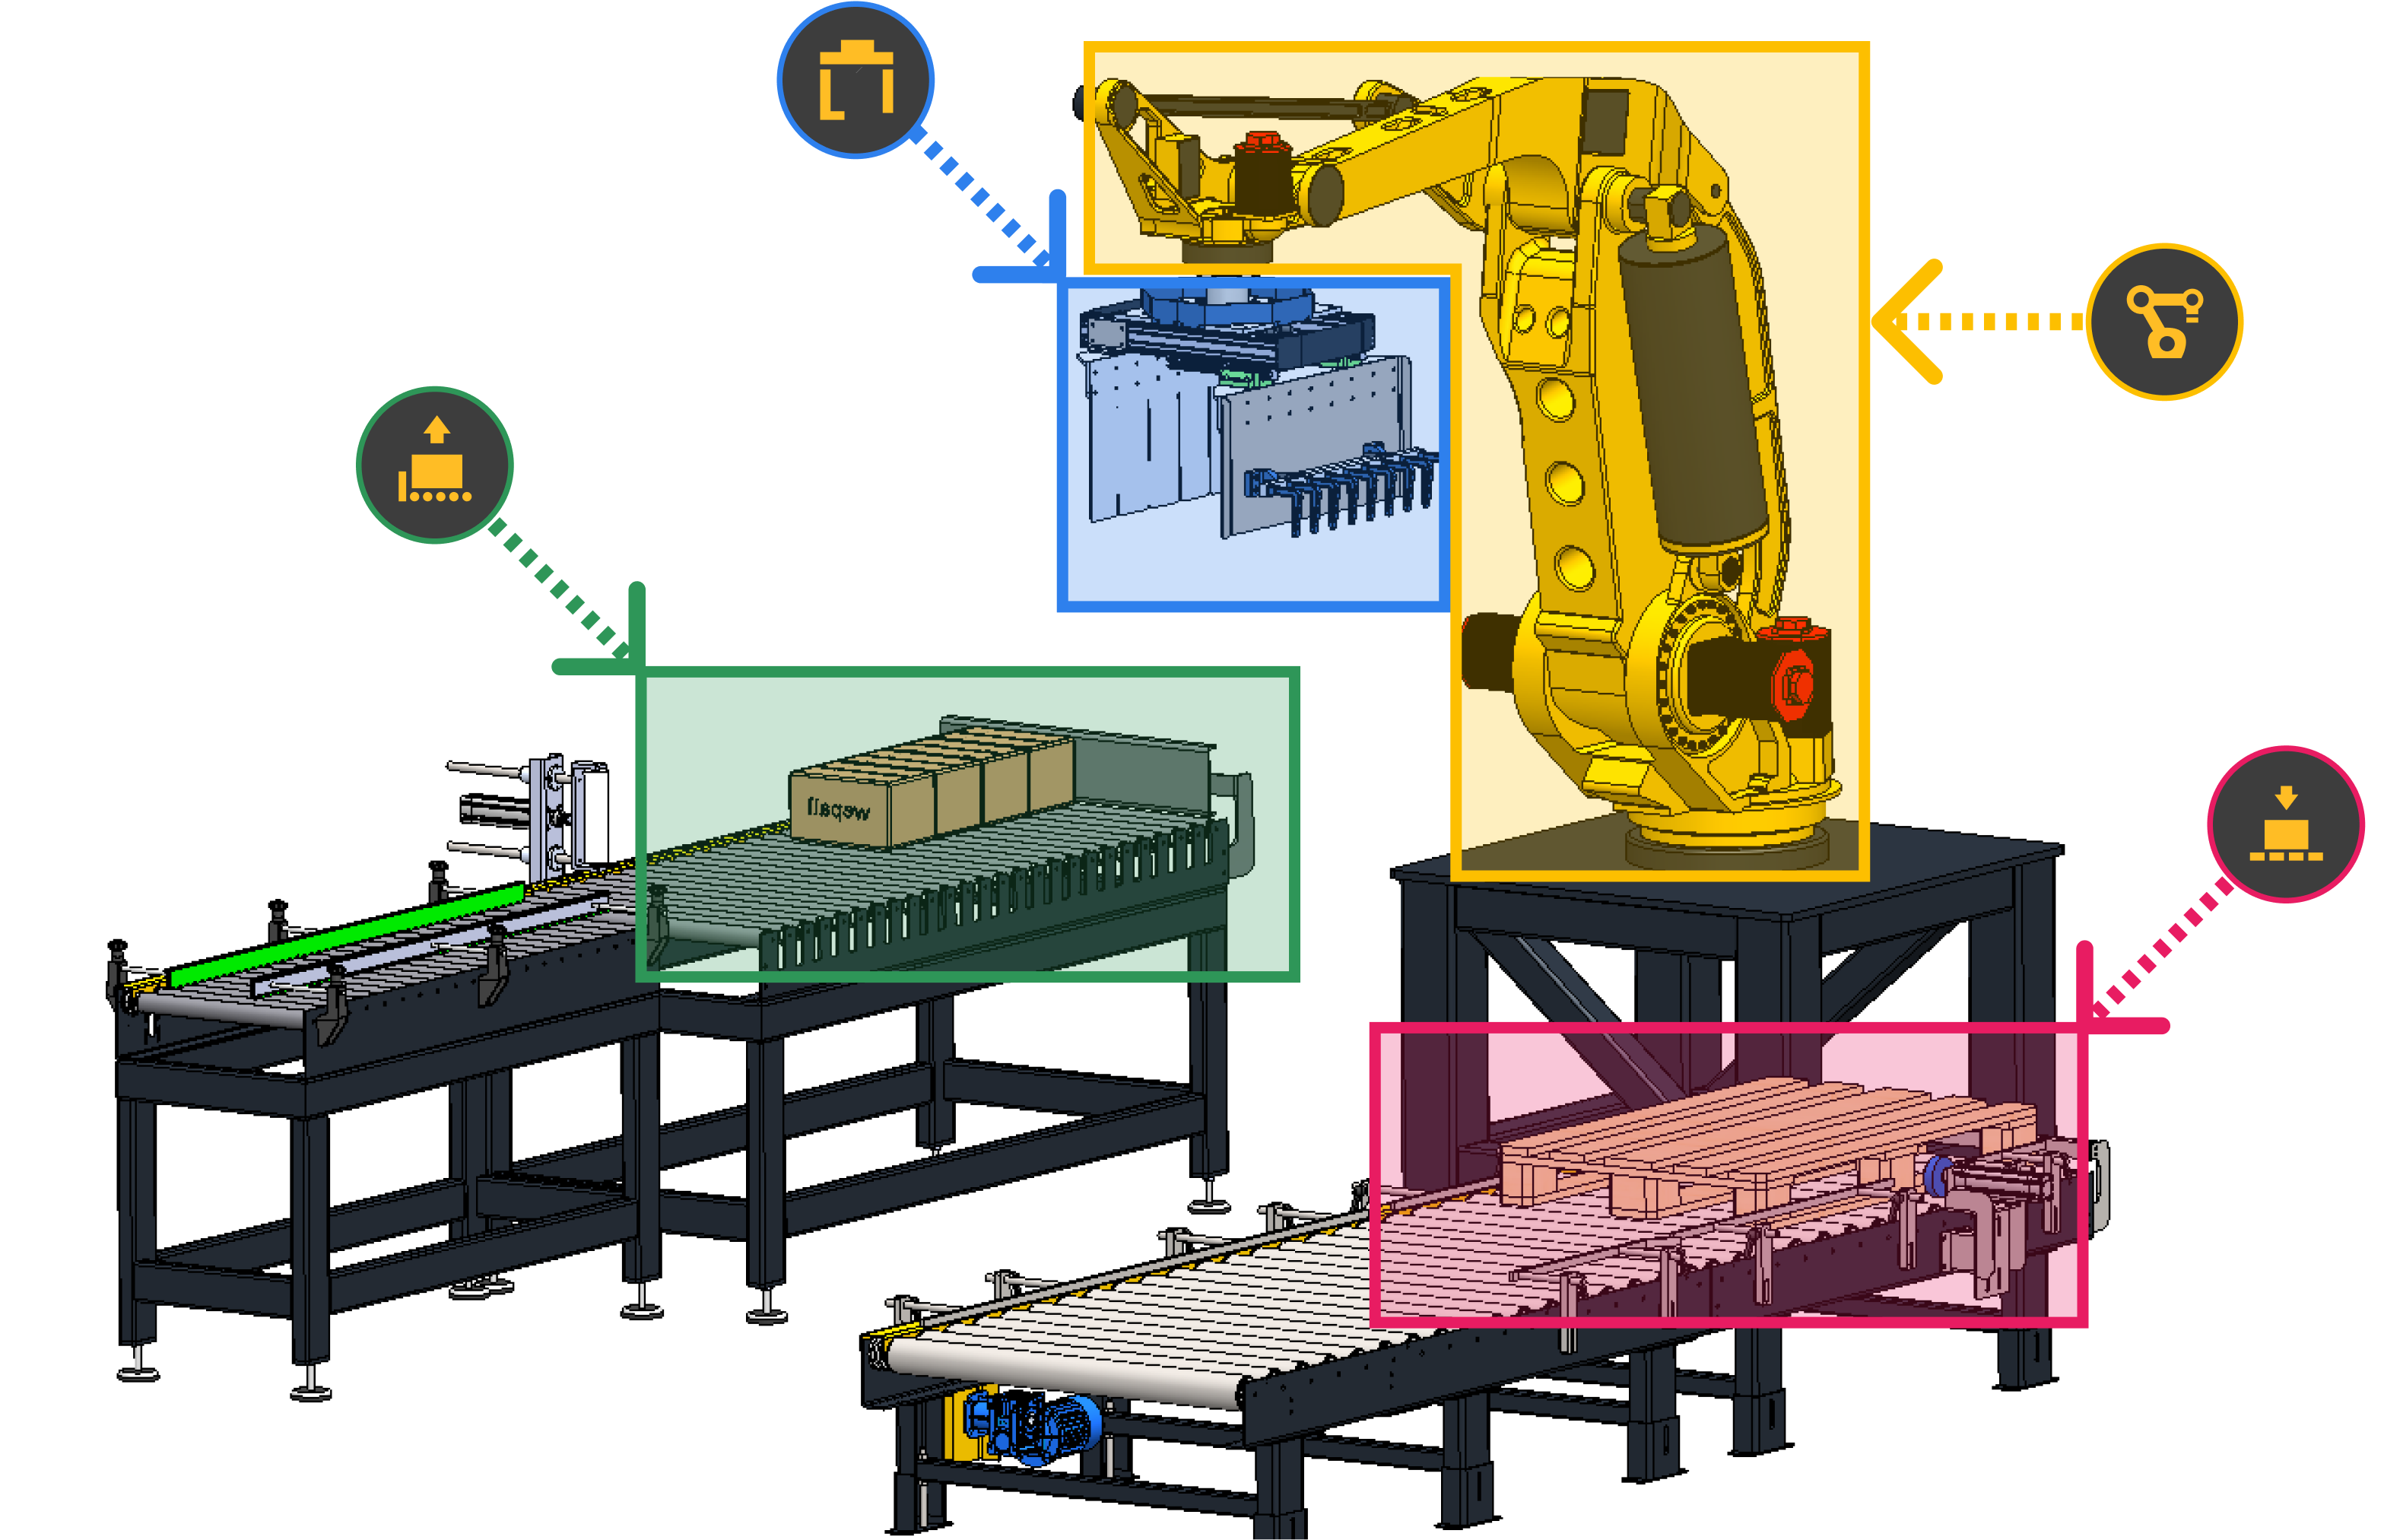
Palletizing element equivalence and its preset
#
Adding and configuring presets
- In section 1, select the palletizing station element you want to configure.
- Click the '+' button in section 2 to add an empty preset.
- Click the preset in section 2.
- In section 3, edit the preset properties following the Wepall manual instructions.
- Repeat steps 1 to 4 for all presets until your palletizing line is fully configured.
Caution
Once again, pay special attention when entering preset data and always try to verify the entered values.
Incorrect data may result in improper system operation.
#
Interlayer positioning
For the robot to be able to place an interlayer between pattern layers, the corresponding presets must be configured. The electromechanical elements used to manipulate the interlayer must be compatible with Wepall specifications.
Check the preset configuration manual and the PLC integration manual.
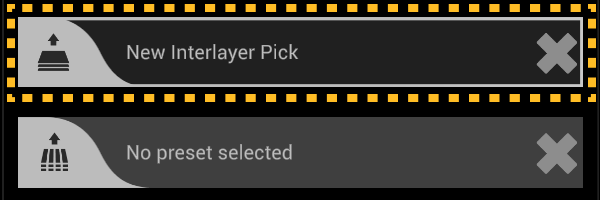
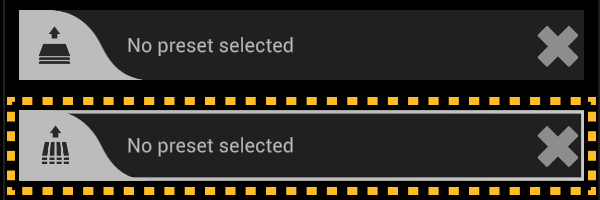
- In the preset configuration screen, assign an interlayer pick preset to the selected recipe.
| No preset assigned to the selected recipe [Preset configuration screen] |
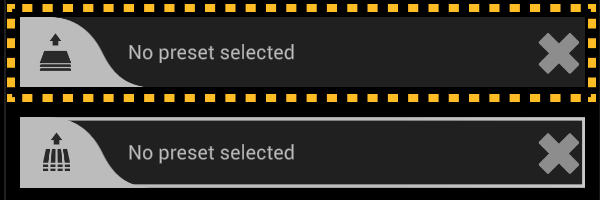 |
| Preset assigned to the selected recipe In the example shown, the preset is named "New interlayer pick" [Preset configuration screen] |
 |
- In the pattern design screen, open the layer menu by clicking on the icon.
- In the layer where you want to place the interlayer, click on the corresponding interlayer mark.
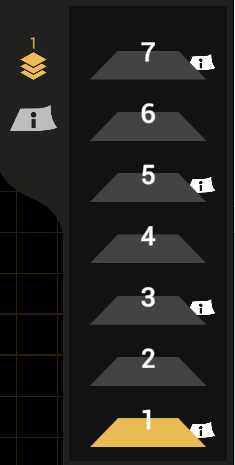
| Layer management menu without interlayer preset assigned [Pattern design screen] |
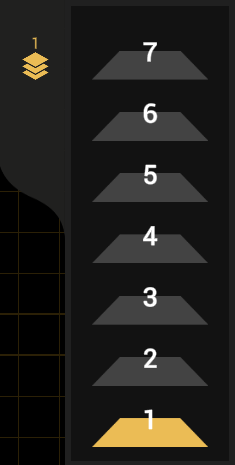 |
| Layer management menu with interlayer preset assigned In the example shown, interlayers are assigned to layers 1, 3, 5, and 7. [Preset configuration screen] |
 |
#
Pallet positioning
For the robot to be able to place a pallet in the palletizing station, the corresponding presets must be configured, and the electromechanical elements used to handle the pallet must be compatible with Wepall specifications.
Check the preset configuration manual and the PLC integration manual.
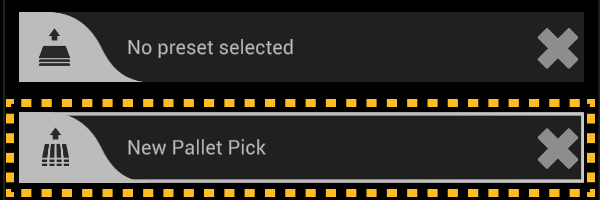
- In the preset configuration screen, assign a pallet pick preset to the selected recipe.
| No preset assigned to the selected recipe [Preset configuration screen] |
 |
| Preset assigned to the selected recipe In the example shown, the preset is named "New Pallet pick" [Preset configuration screen] |
 |